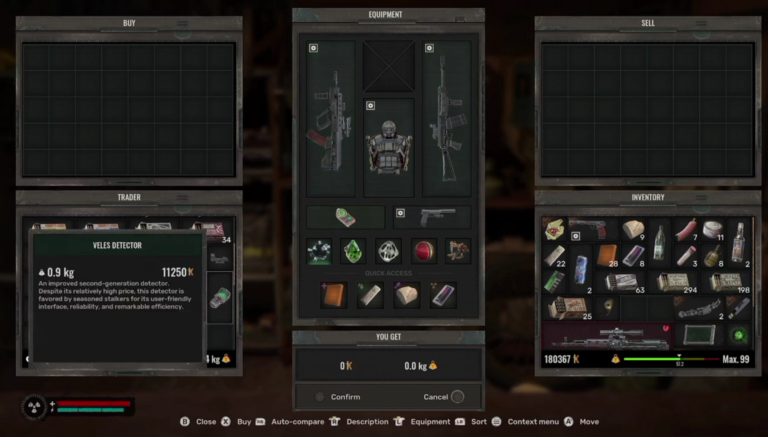
The Veles Detector is the best tool for finding artifacts in Stalker 2: Heart of Chornobyl. This guide will help you understand how to get this powerful device and how to use it effectively while exploring the dangerous Zone. With easy steps and clear tips, you will be ready to enhance your artifact-hunting skills.
How to Get the Veles Detector in Stalker 2
To get the Veles Detector, you need to complete a main story mission called “In Search of Past Glory.” This mission is important because it unlocks the chance to receive the Veles Detector as a reward. After finishing this mission, you must take the blueprint for the psi-radiation suppressor back to Dr. Dvupalov. He will give you the Veles Detector for your hard work. Some players have faced issues receiving this reward, so if that happens, consider checking for updates or exploring other options.
Features That Make the Veles Detector Stand Out Among Other Detectors

The Veles Detector has many great features that make it different from other detectors in the game. First, it shows you the exact location of nearby artifacts on its screen. This means you do not have to guess where they are anymore. The detector uses red dots to mark where each artifact is located, making it easy to find them.
In addition to finding artifacts, the Veles Detector also displays all nearby anomalies. Anomalies are dangerous areas with strange effects, like gravity anomalies or whirlwinds. Knowing where these anomalies are helps you navigate safely through risky areas.
You May Also Like: Wandering Lights Anomalous Area Solution For Stalker 2: How to Find Weird Wate
How to Use the Veles Detector in Stalker 2
To use the Veles Detector in Stalker 2, you need to press a specific button on your controller or keyboard. The button you press can depend on your settings, but here are the common options:
- On Xbox controllers, you usually press the “X” button.
- On PlayStation controllers, you typically press the “Square” button.
- On a PC, you can usually activate it by pressing the “E” key.
When you press the right button, the Veles Detector will turn on, and you will see a screen that shows red dots. These dots represent nearby artifacts and help you see where anomalies are located. This makes it easier to explore the dangerous areas of the game.
Why You Should Choose the Veles Detector Over Others Detectors
In Stalker 2, there are four types of detectors: Echo, Hilka, Bear, and Veles. Each one offers different features that improve your ability to find artifacts. The Echo Detector gives basic signals when you approach an artifact but does not provide much detail. The Hilka Detector shows how far away an artifact is but lacks clear visuals.
The Bear Detector improves upon these features by providing a radar-like display that helps show direction and distance. However, none of these detectors compare to what the Veles Detector can do. The Veles Detector combines all these features into one powerful tool that provides accurate information about both artifacts and anomalies.
One of the best things about using the Veles Detector is its ability to show nearby anomalies clearly. This feature helps players avoid dangerous areas more effectively than with other detectors. By knowing where anomalies are located, players can navigate through tricky spots without getting hurt.
You May Also Like: How to Access Pripyat Early in Stalker 2: Heart of Chornobyl
Frequently Asked Questions (FAQ)
1Q: How can I find the Veles Detector in Stalker 2?
You need to finish the main mission called “In Search of Past Glory.” After that, take the psi-radiation suppressor blueprint back to Dr. Dvupalov. He will give you the Veles Detector as a reward.
2Q: How can I tell if an artifact is close by?
The Veles Detector shows red dots on its screen. These dots tell you where nearby artifacts are located.
3Q: Is the Veles Detector the best one in the game?
Yes, it is the most advanced detector in Stalker 2. It gives you the best information about artifacts and anomalies.

